DIY Clock
The story of this project began in 2024, when I bought a DIY clock kit from a well-known Chinese marketplace. The result exceeded my expectations — large indicators, a minimalistic and clear design, and simple functionality — so the clock earned its place on my desk.
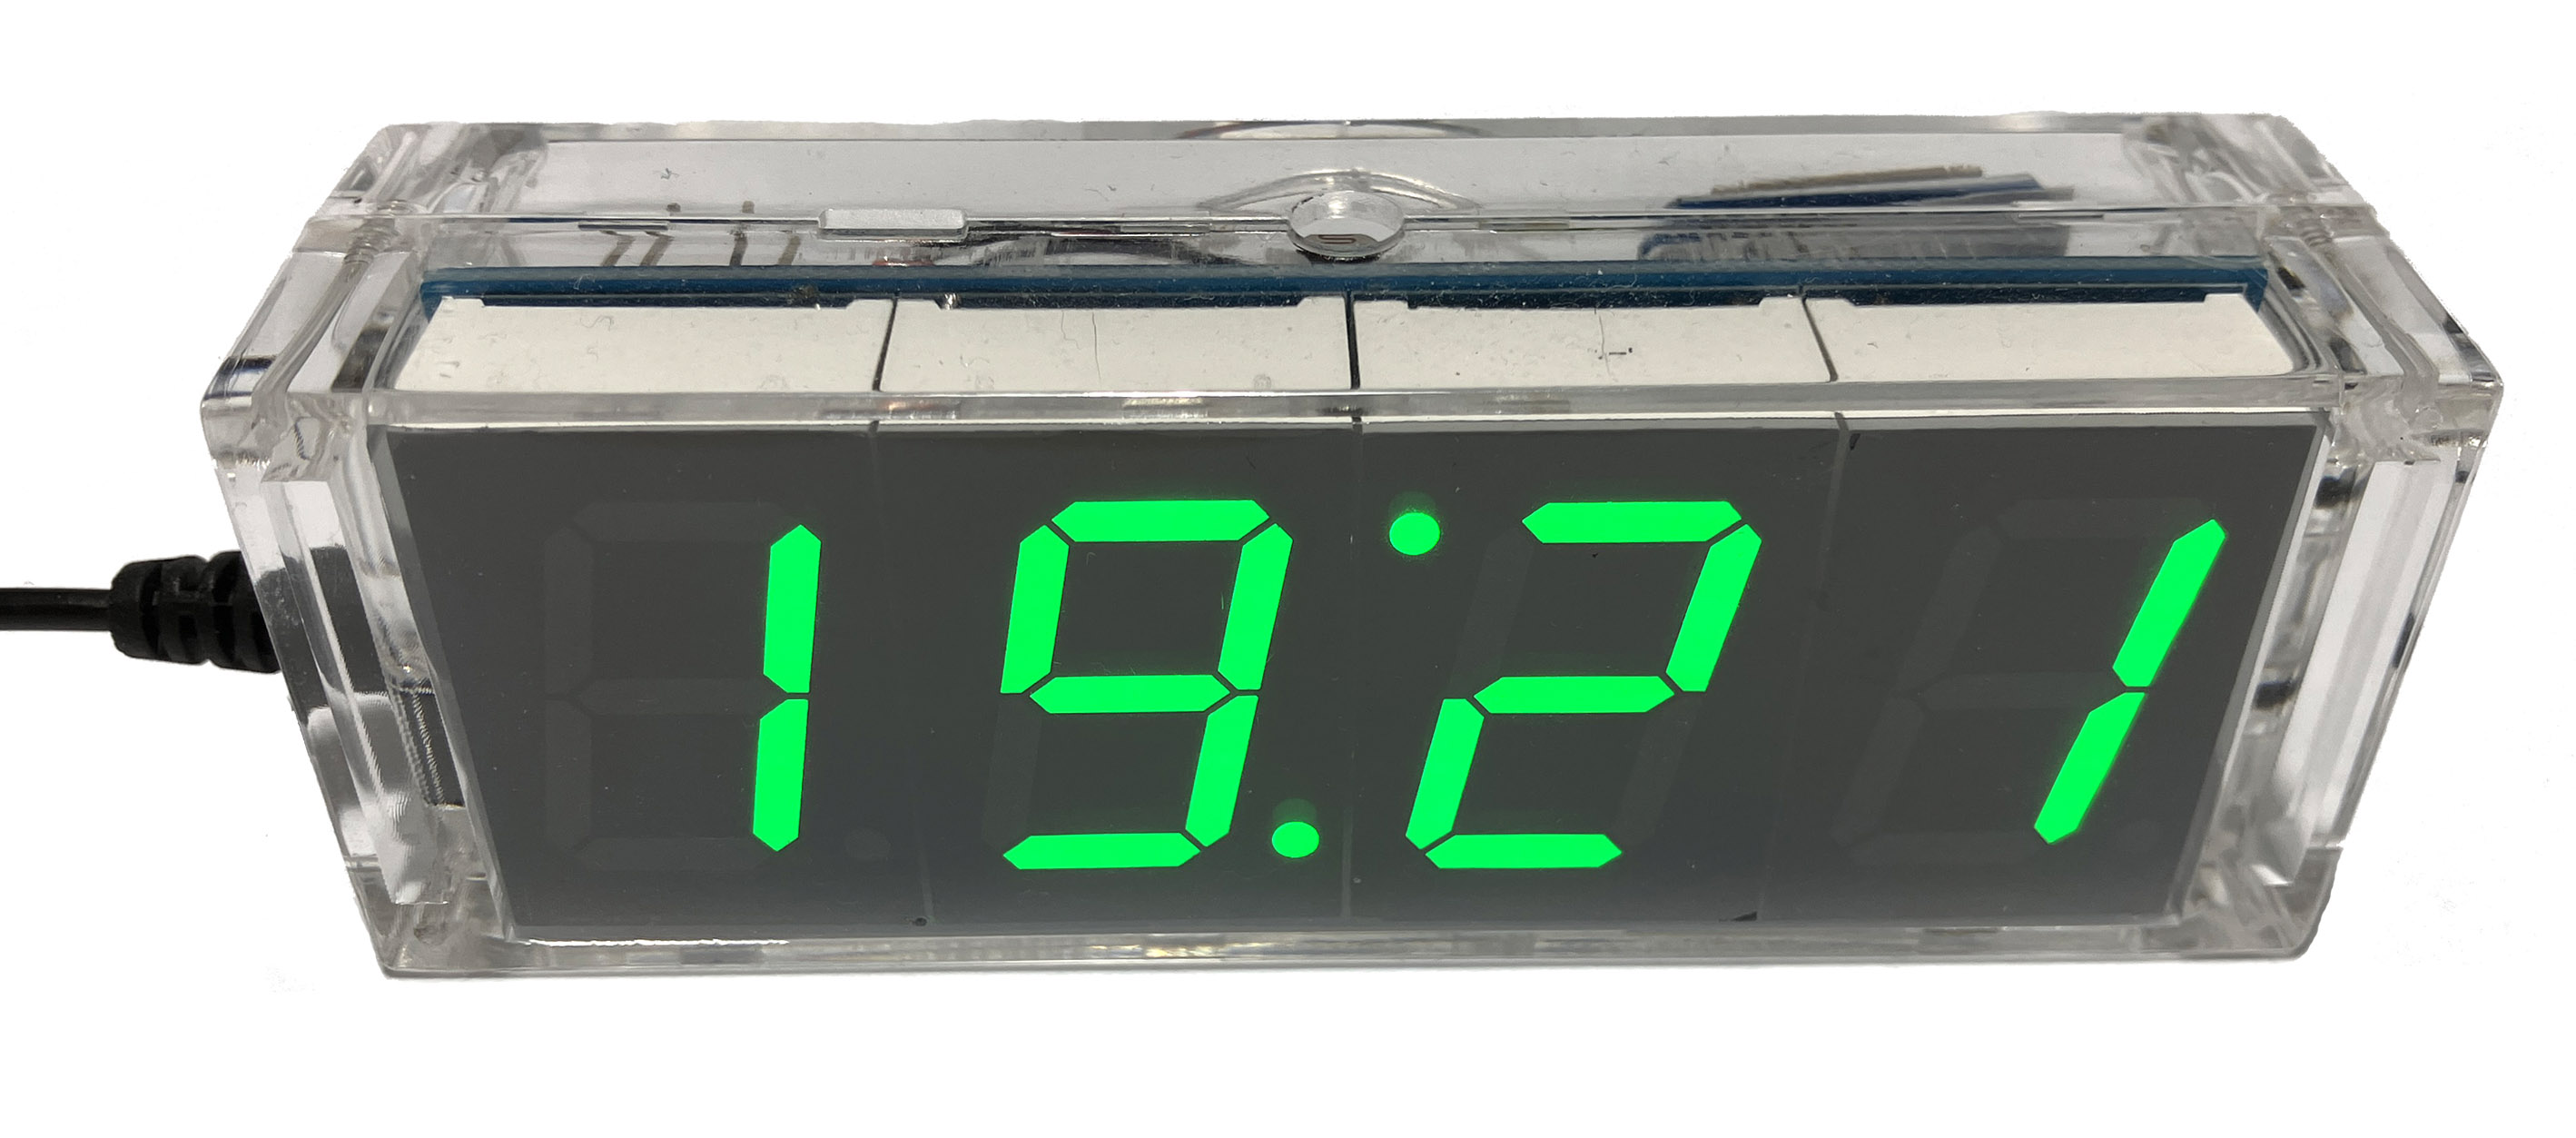
After several days, I noticed one small but annoying issue. The clock had an auto-dimming feature: depending on the amount of ambient light, the LED brightness was adjusted automatically. But this feature was implemented in a strange way — it only had two hardcoded levels: high brightness and low brightness.
During sunny days and dark nights this didn’t cause any issues, but in real life there are many moments in between — cloudy days, dawns, and sunsets — and during those times the LED digits were either too bright or too dim. Instead of this discrete logic, I preferred to have a linear relationship between ambient light and LED brightness.
Unfortunately, the firmware didn’t offer any settings in this regard, so I had to go deeper.
Custom firmware
Luckily, I found a GitHub repository with alternative firmware for this DIY clock. The auto-dimming feature was implemented slightly better there than in the original firmware, but it still didn’t meet my expectations. The repository had already been archived and was no longer maintained, so I made a fork and started making changes.
First, I modified the auto-dimming behavior to work the way I wanted and adjusted some screens and button functions according to my personal preferences. Then I completely refactored the code, fixed several issues, added new features, and reduced the firmware size.
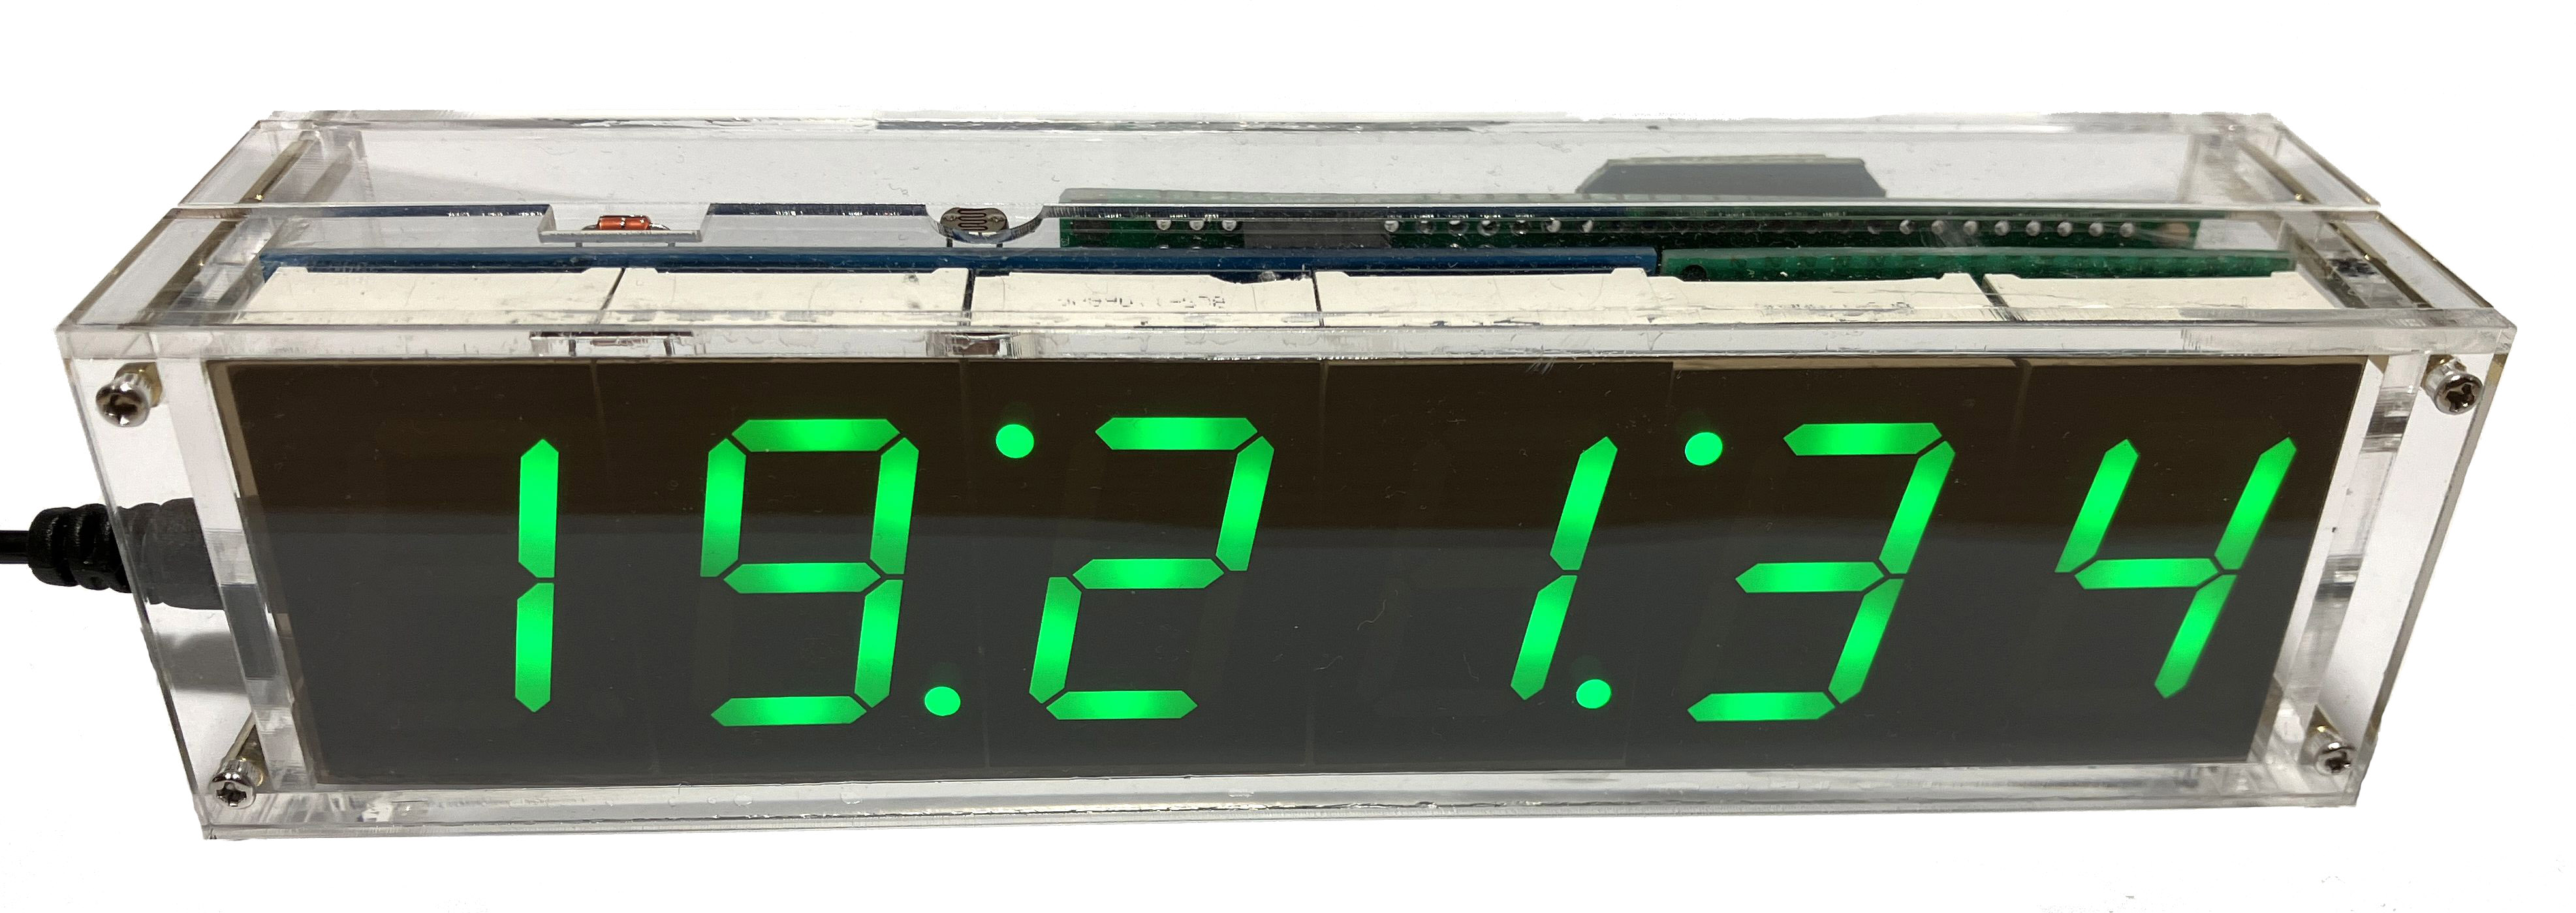
HH:MM:SS version, v1
At some point, an idea came to my mind: “What if I add two more indicators to display seconds?”. The microcontroller had two free pins, so adding the extra segments went smoothly. For the first version, I used the original PCB that came with the kit and extended it with a piece of prototyping board for the additional segments.
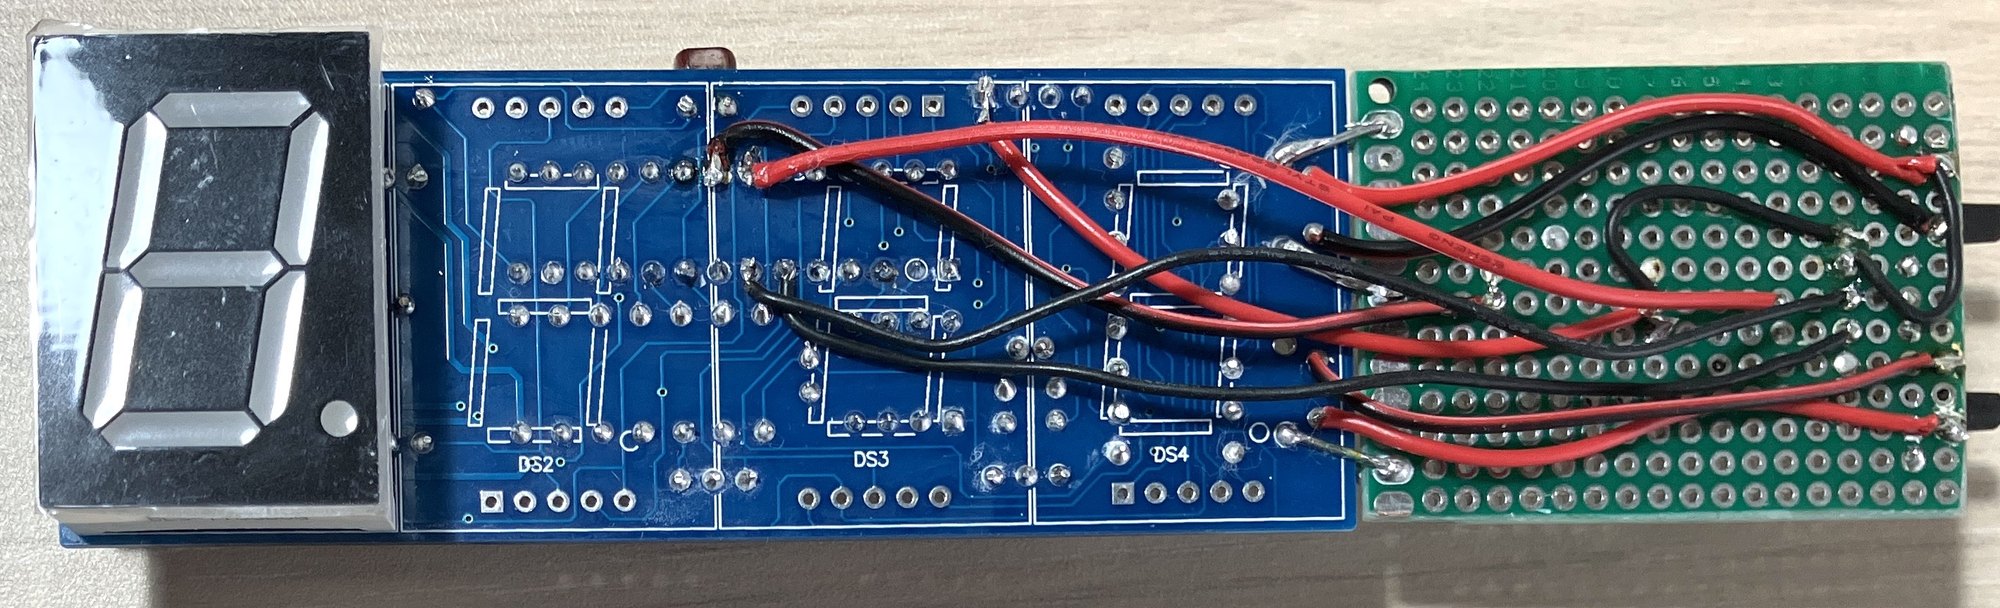
The case was made of transparent acrylic.
HH:MM:SS version, v2
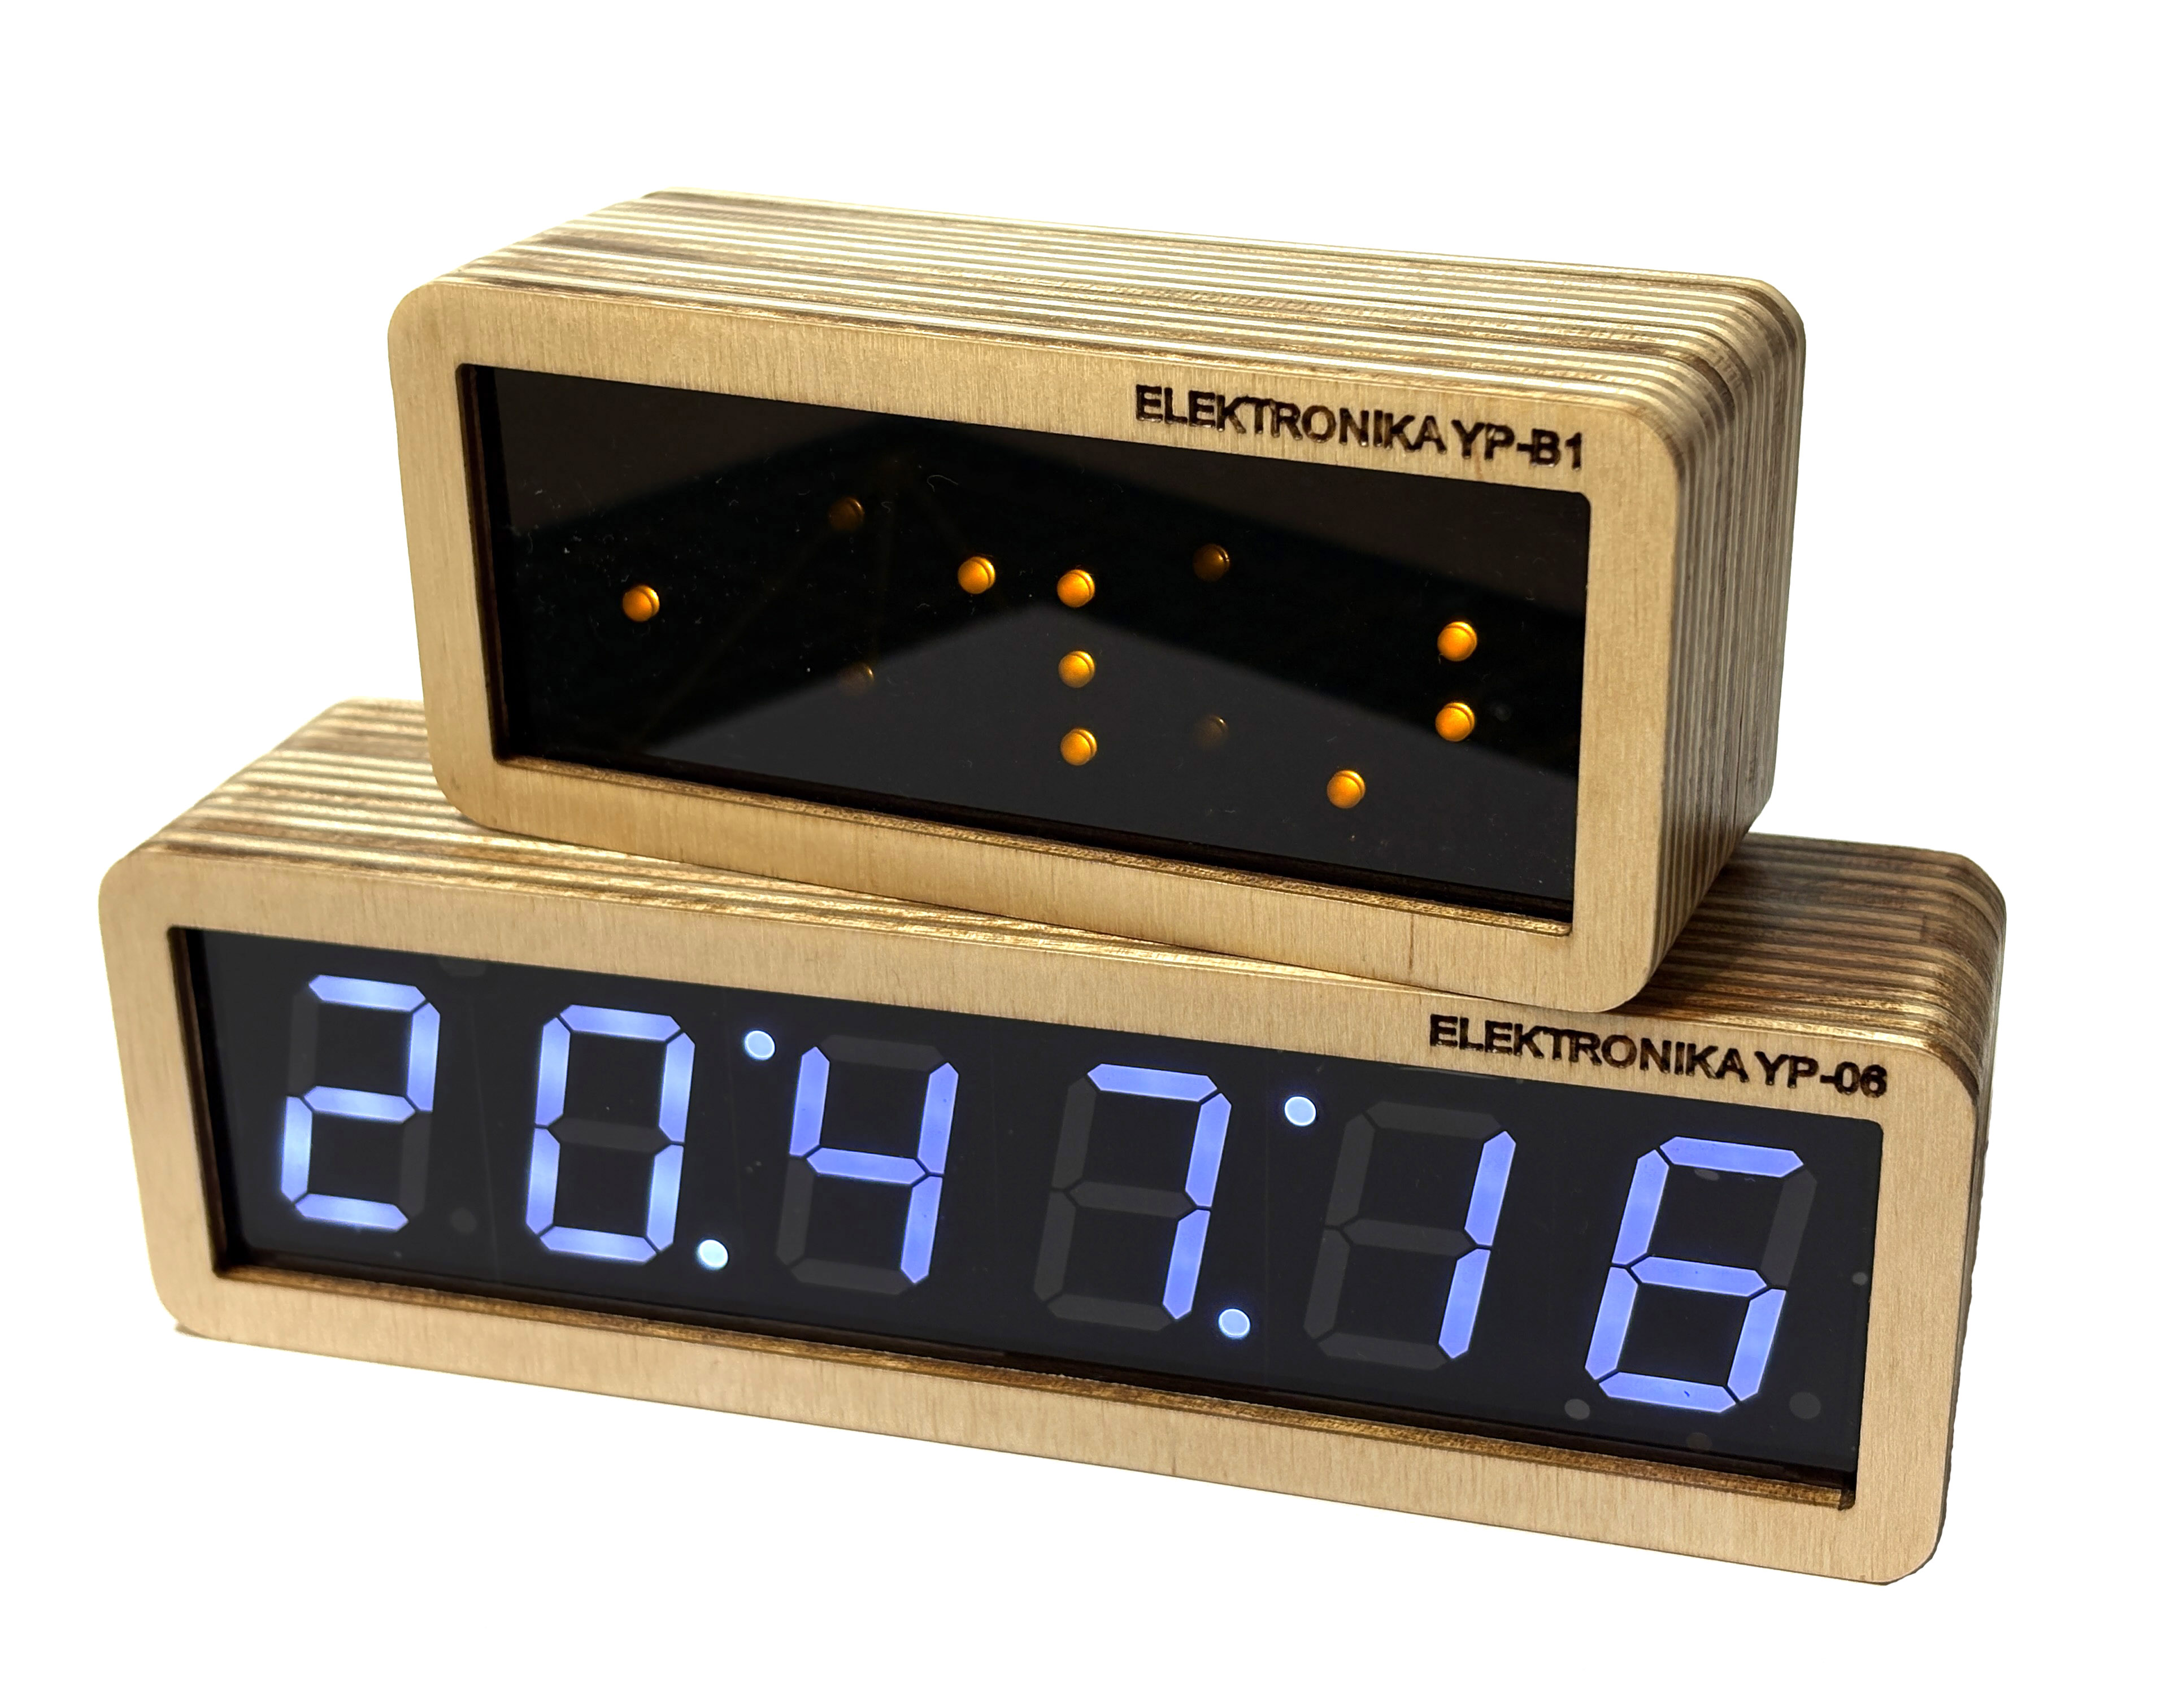
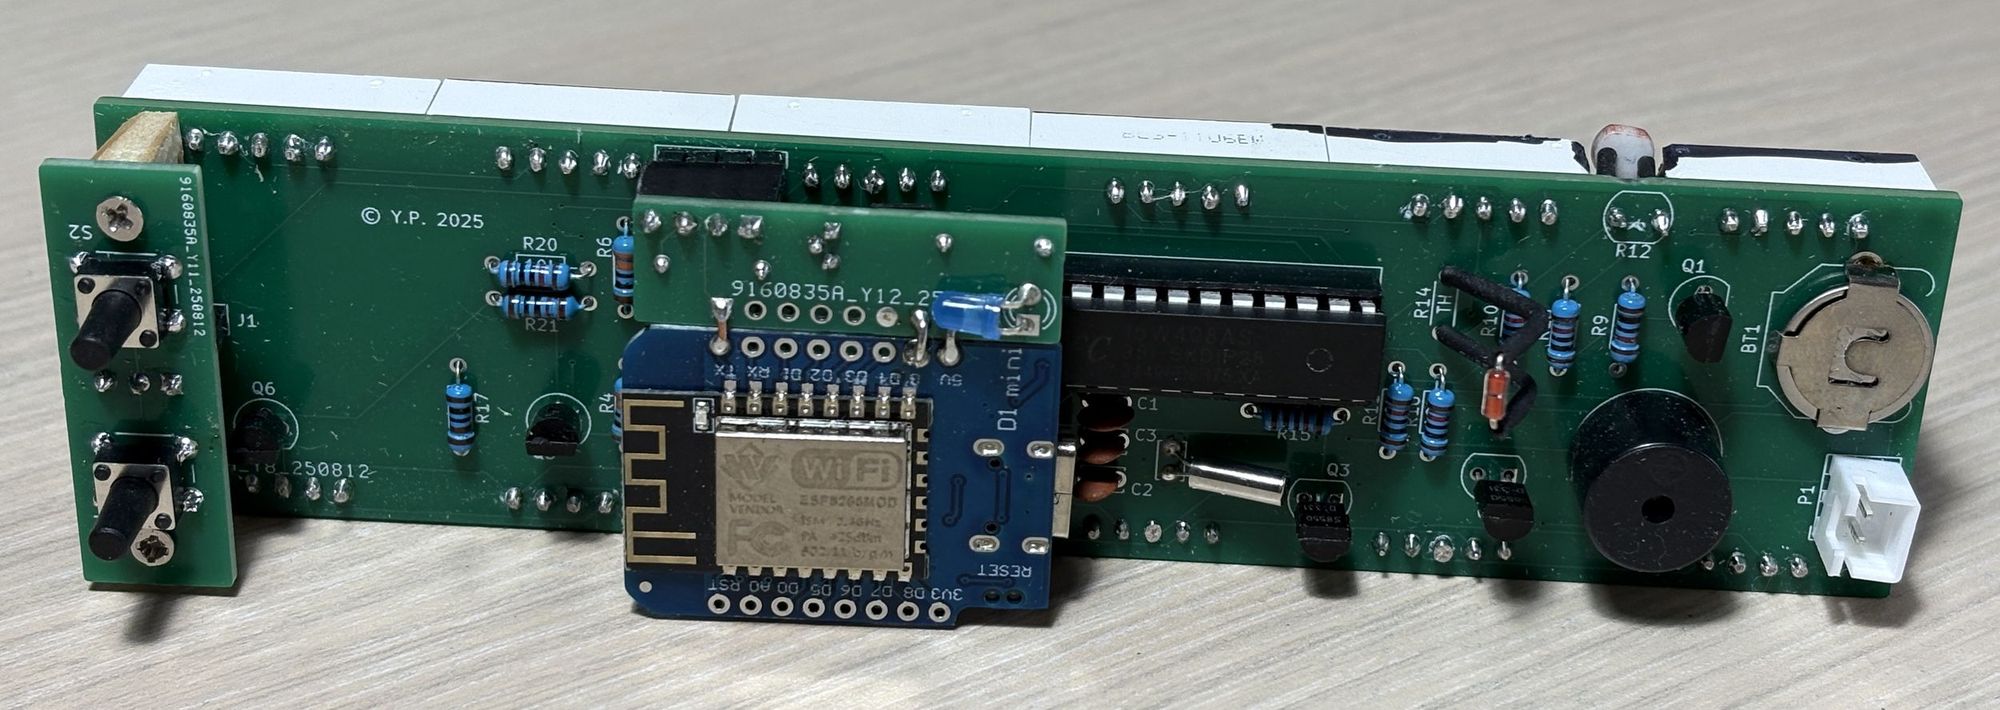
For the second version I designed proper PCBs and made a nice wooden case.
Binary clock, prototype
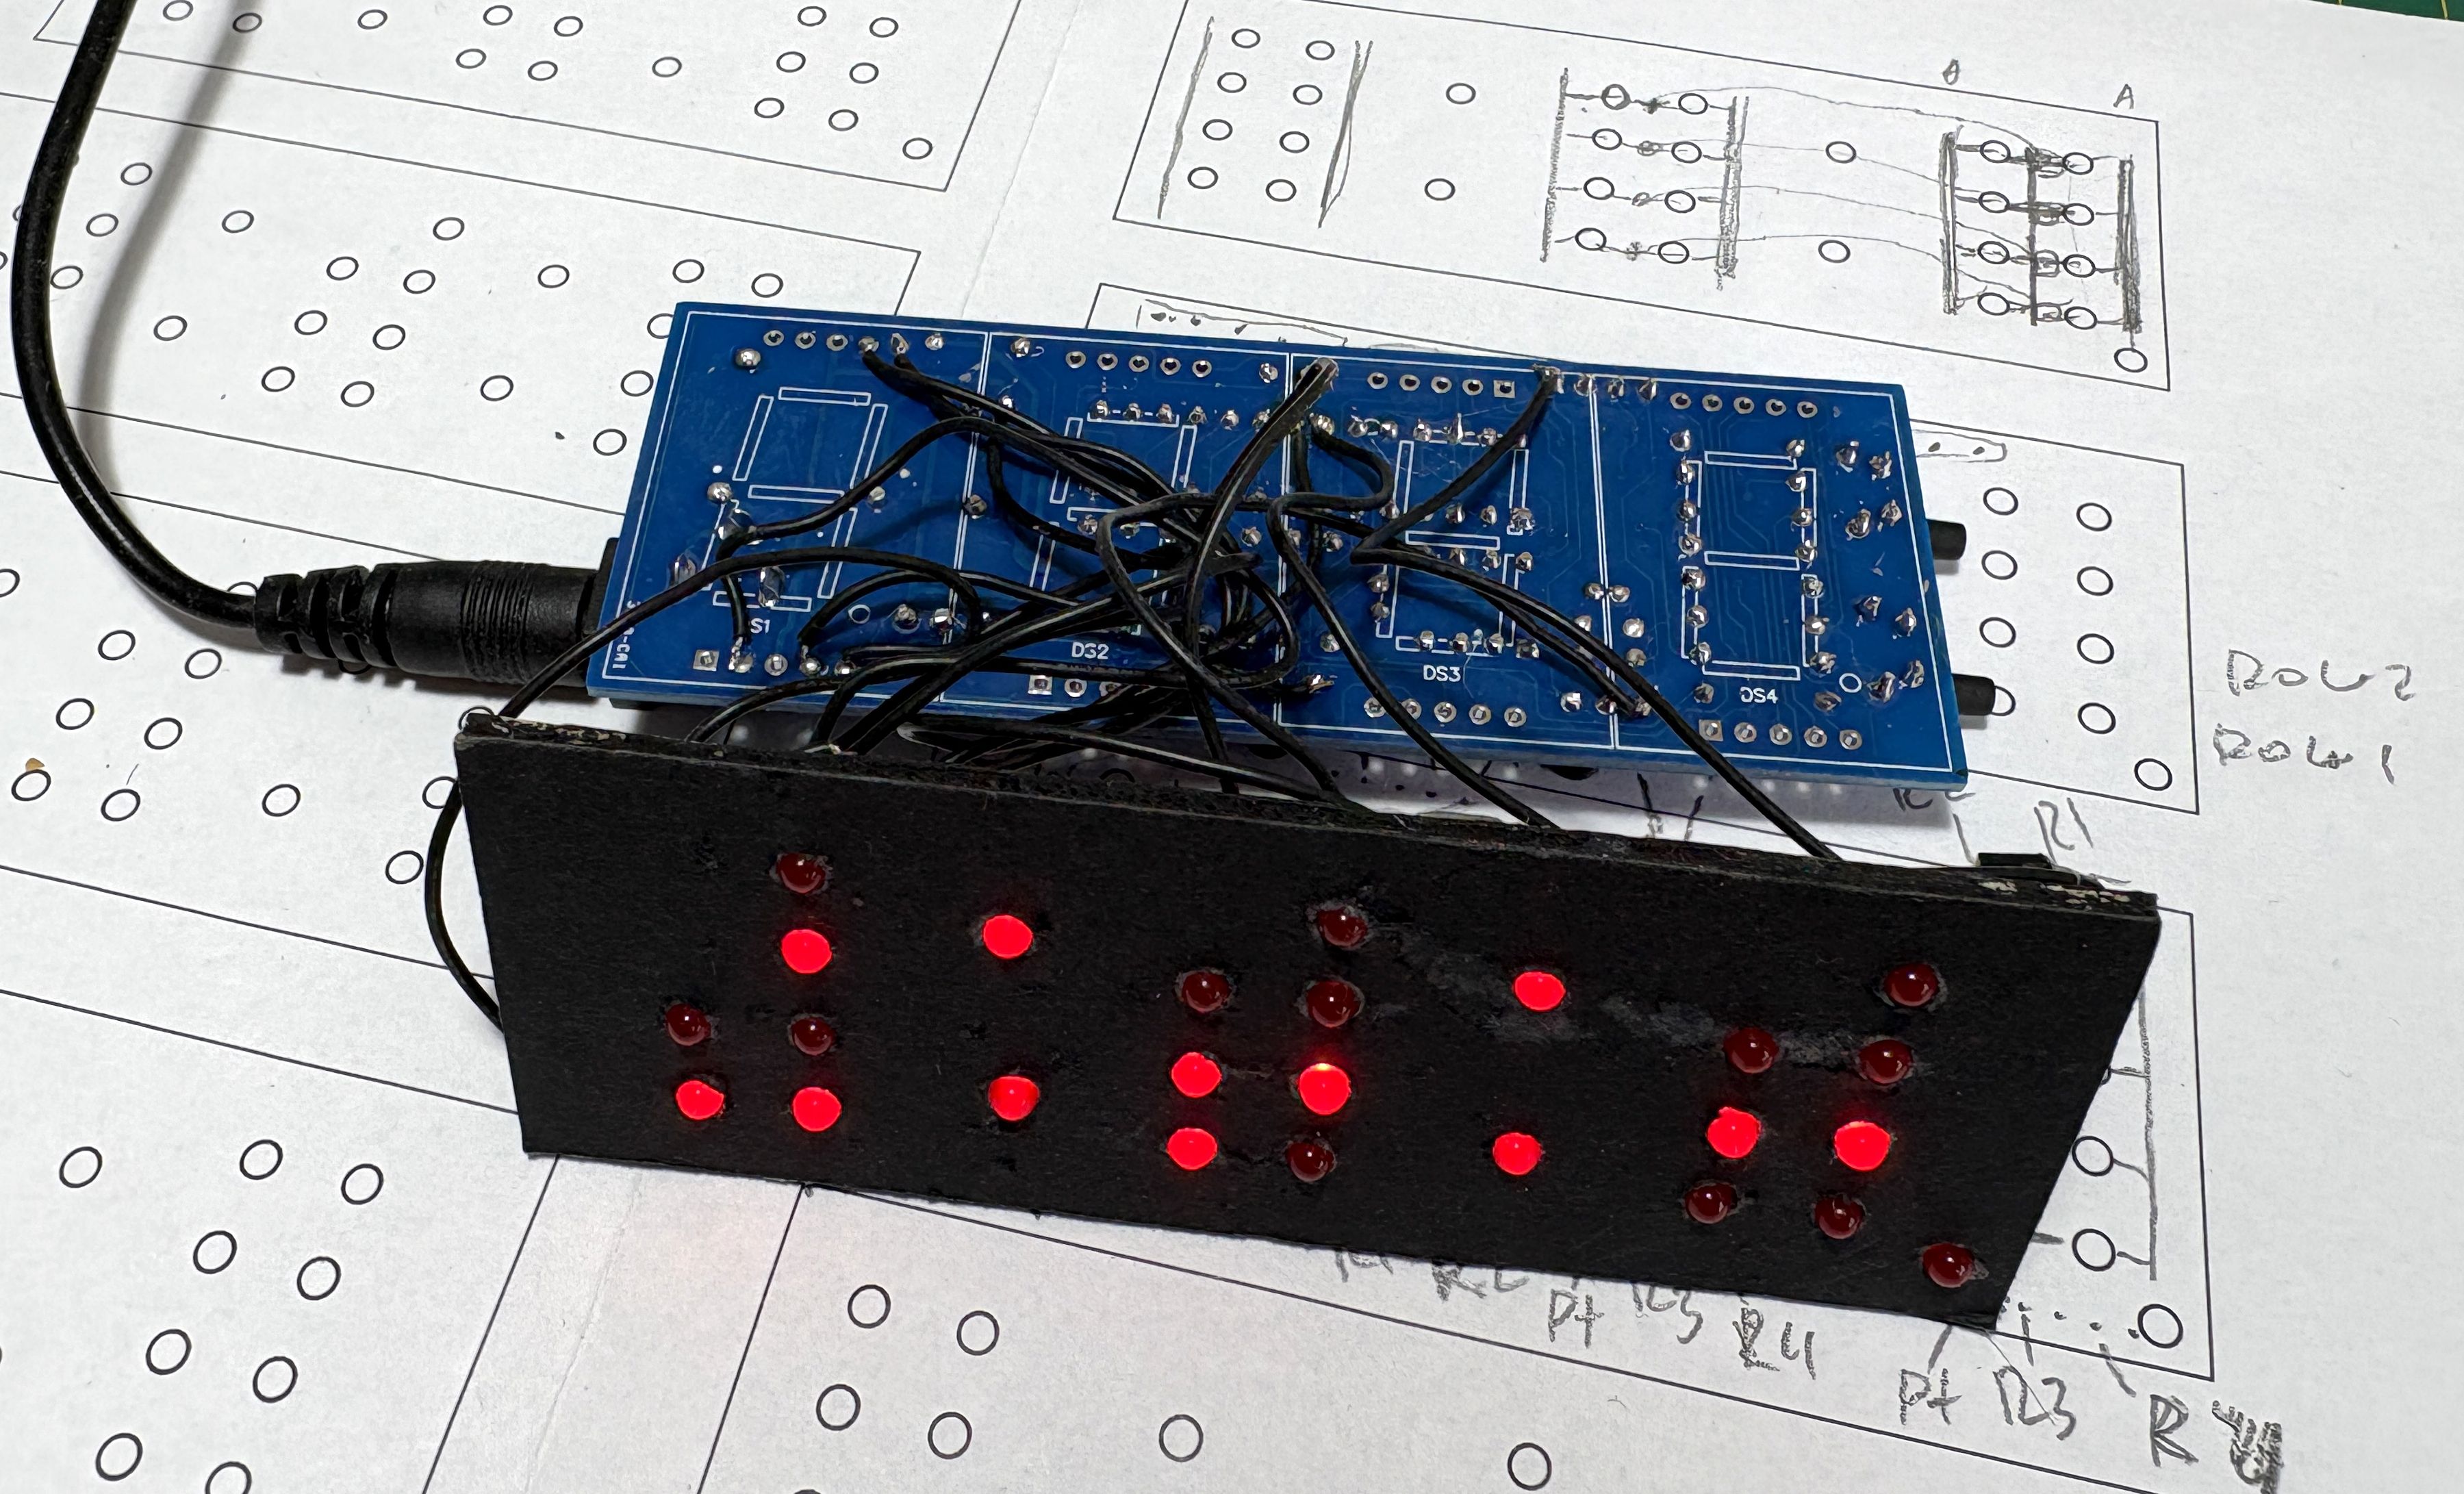
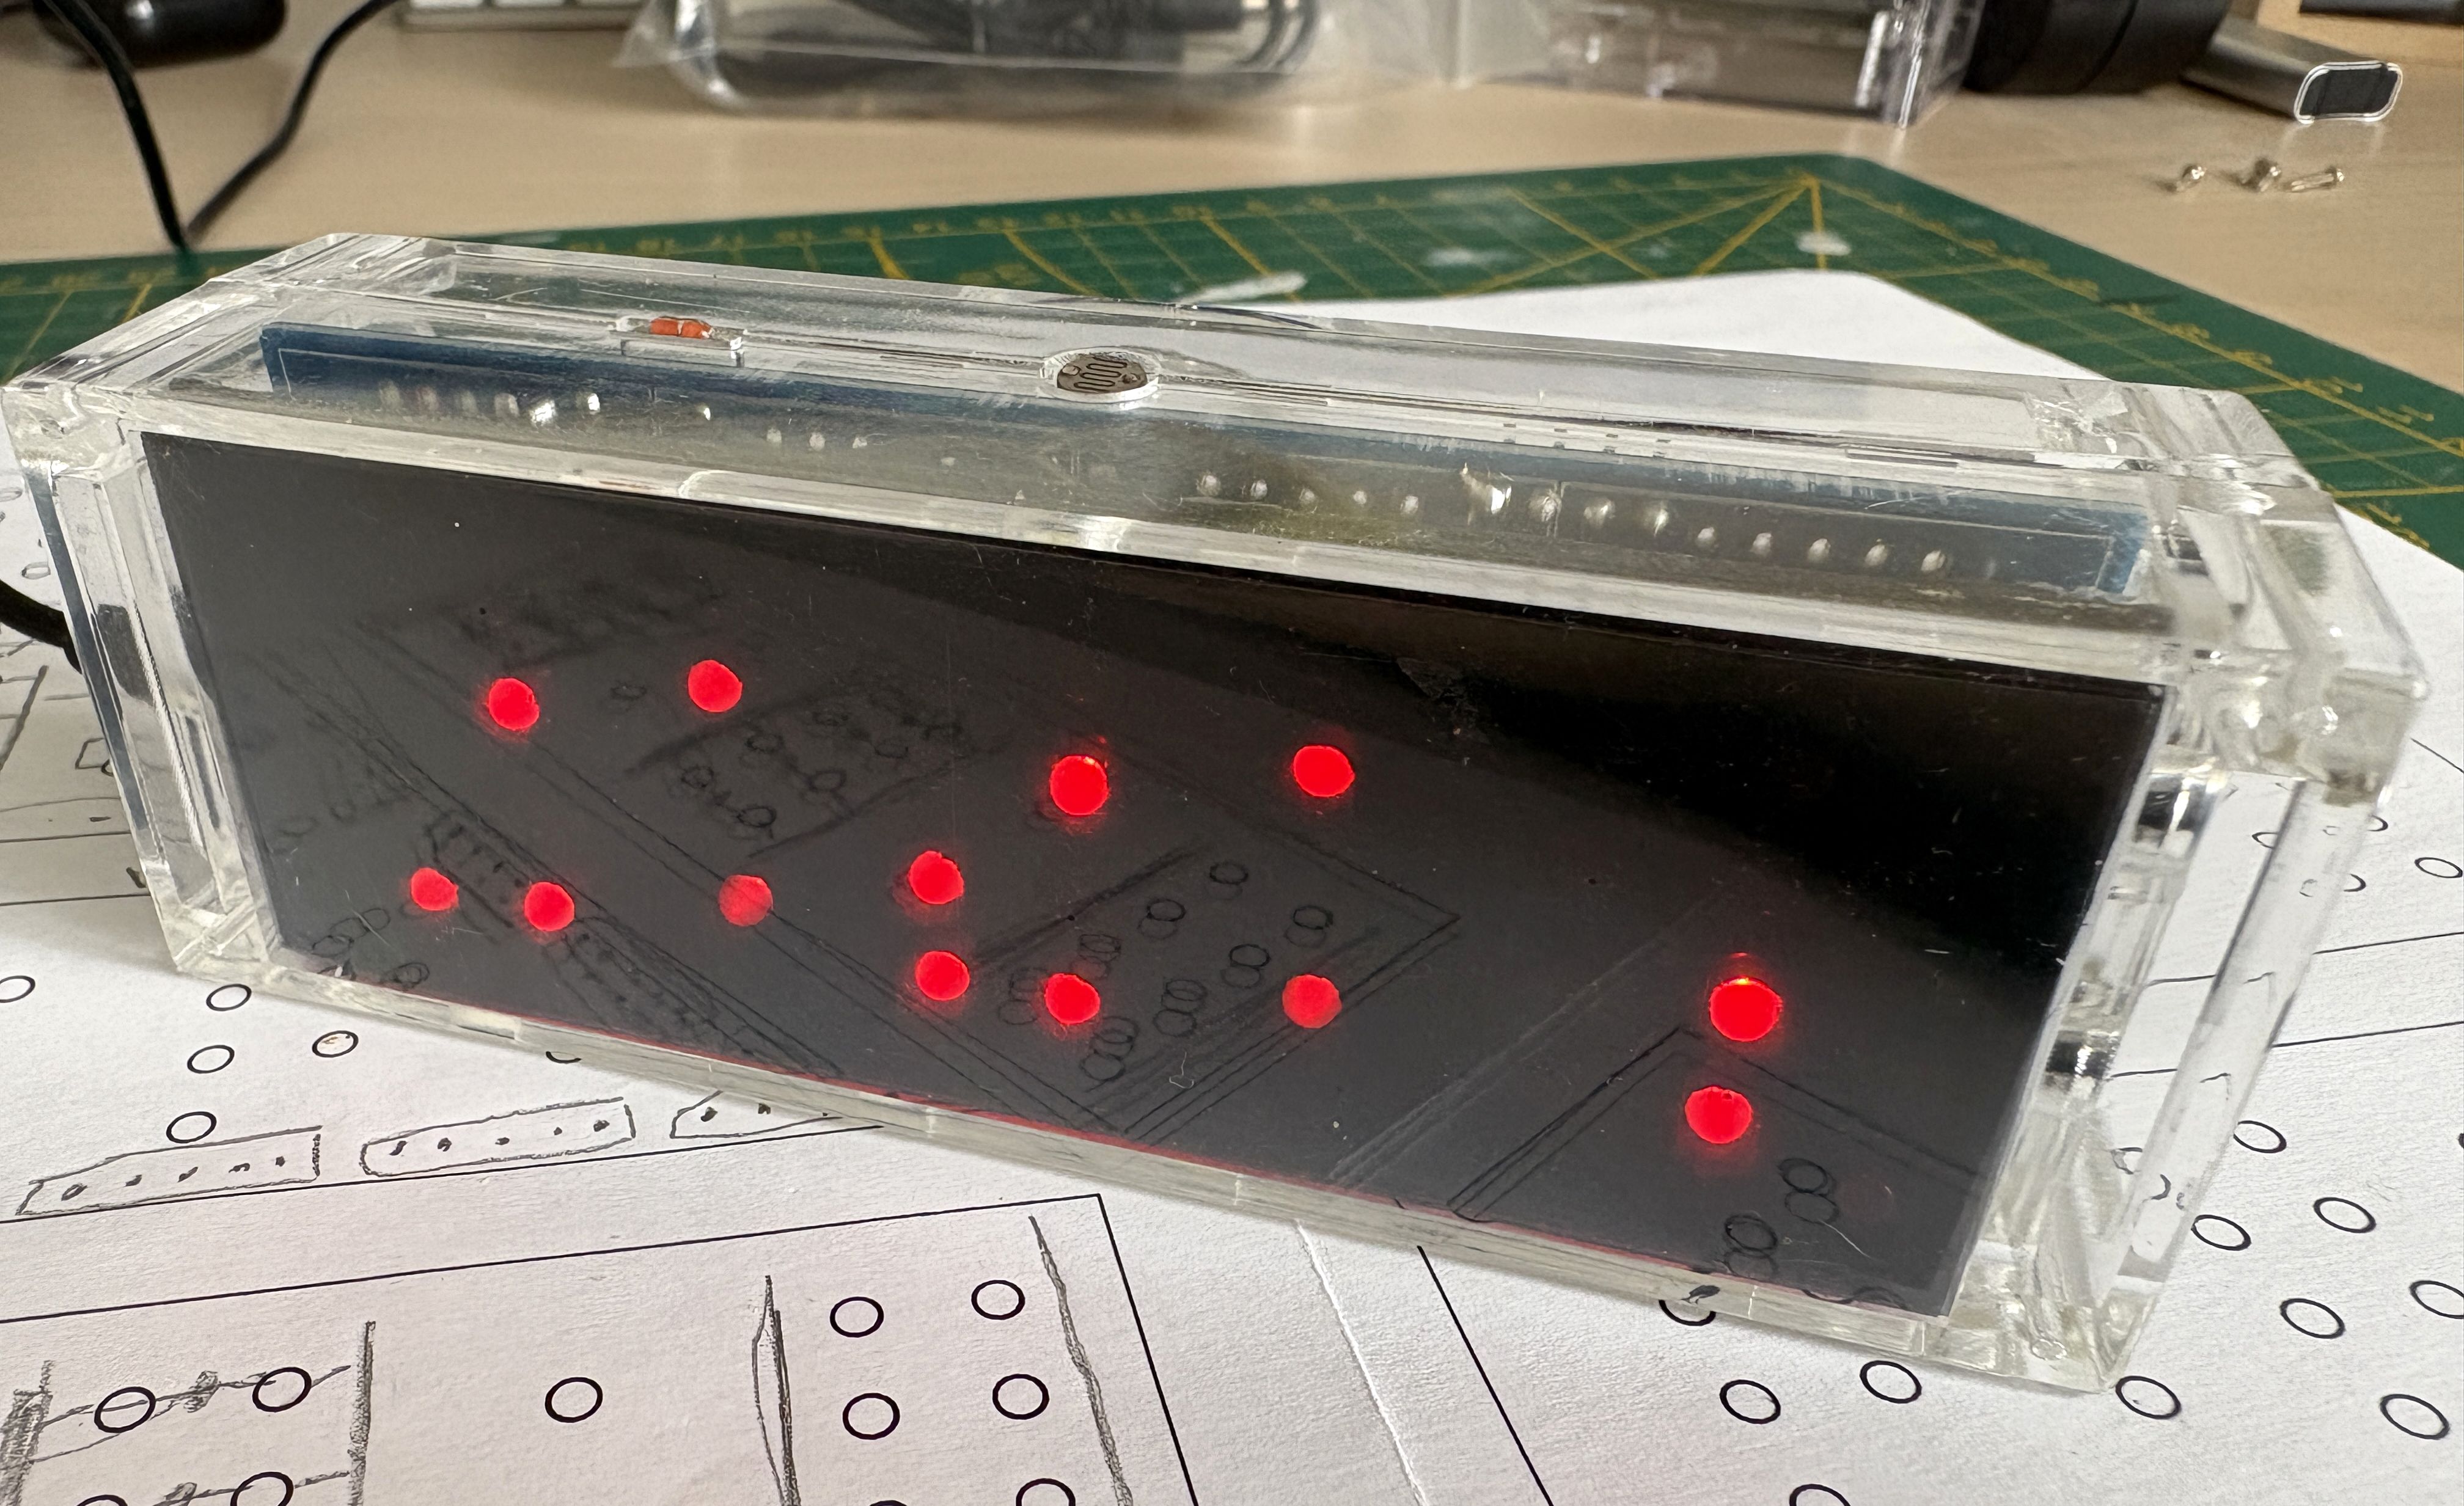
After building the 6-digit version, I decided to build a binary clock from the same kit. For the prototype, I again used the original PCB from the kit. The front panel was made from a piece of 2 mm plywood and connected to the main board with a bunch of wires.
Everything fit inside the original acrylic case.
Binary clock, v2
Later, I designed two PCBs — one for the main board and another for the front panel. The boards are connected using four pin headers, which also provide mechanical support.
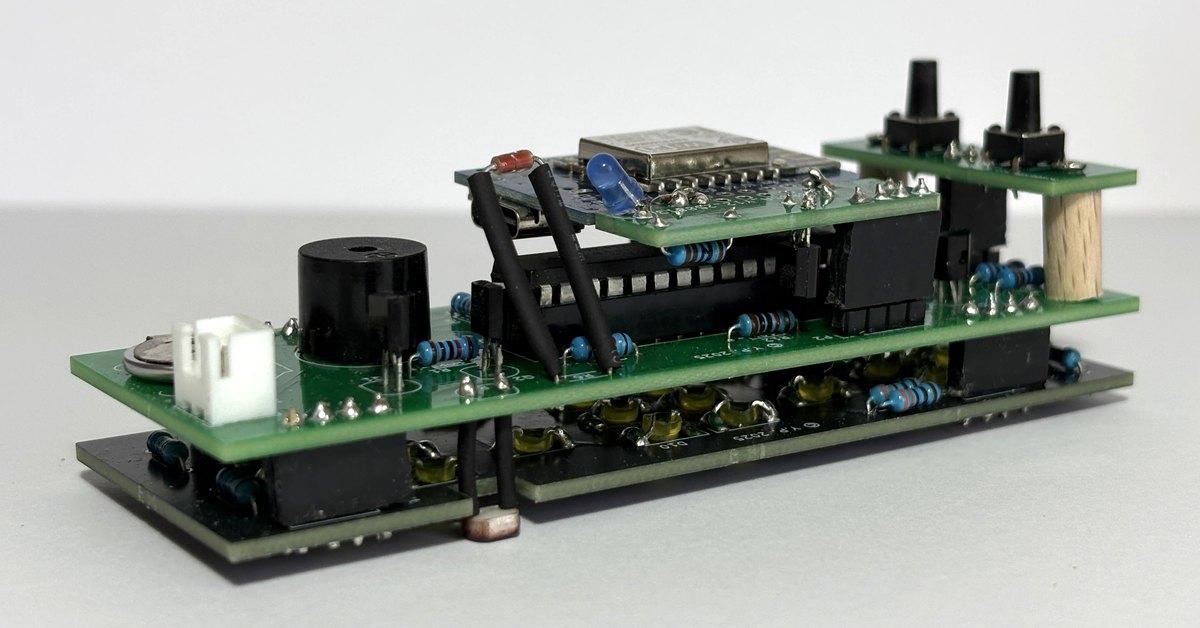
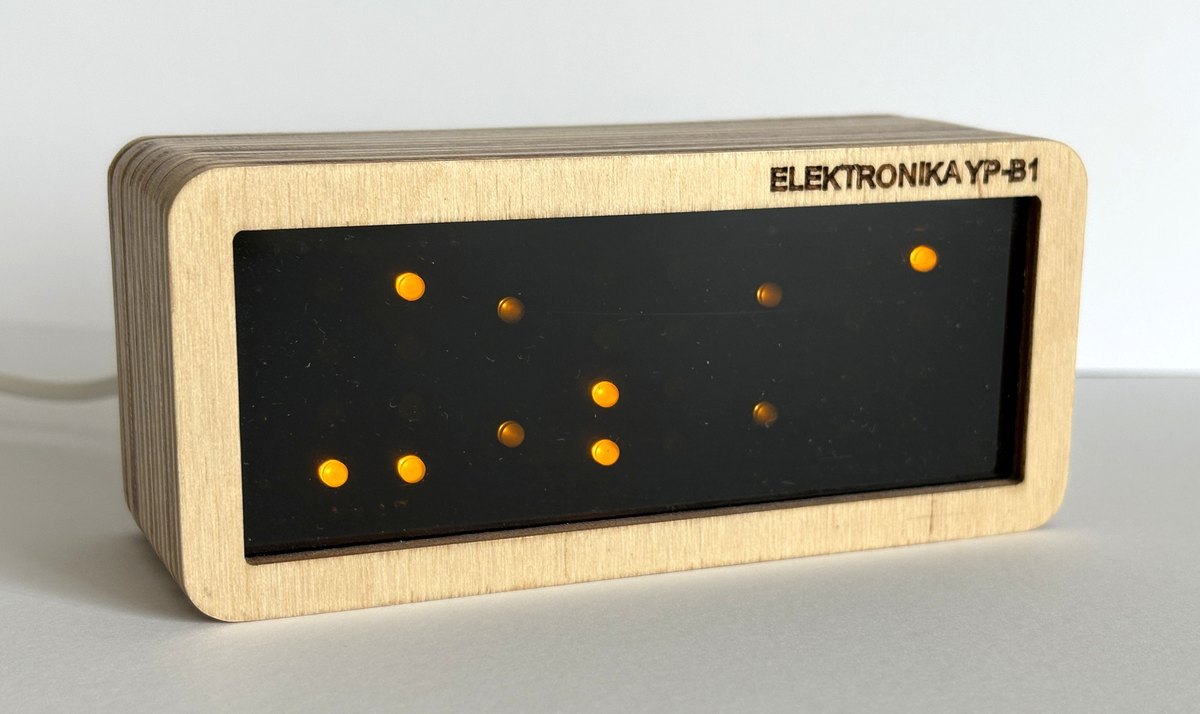
And, of course, I made a wooden case in the same style as the one for the 6-digit version, so they look nice together as a matching set.